Network Configuration
Now it’s the time to setup the network configuration for your virtual machine.
Windows Settings
Before configuring the underlying networking of the virtual machine, you might want to trick some settings inside Windows itself.
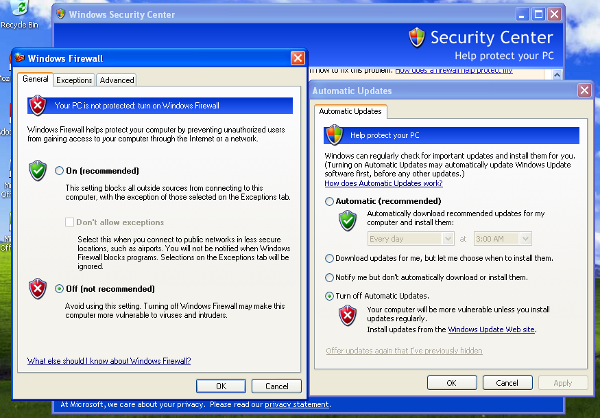
One of the most important things to do is disabling Windows Firewall and the Automatic Updates. The reason behind this is that they can affect the behavior of the malware under normal circumstances and that they can pollute the network analysis performed by Cuckoo, by dropping connections or including unrelevant requests.
You can do so from Windows’ Control Panel as shown in the picture:
Virtual Networking
Now you need to decide how to make your virtual machine able to access Internet or your local network.
By default VirtualBox adopts Network Address Translation (NAT) which in most cases will be good enough for any needs. This is also the configuration we’ll adopt in this documentation.
If you have particular needs and want to use some different networking, please refer to VirtualBox’s virtual networking documentation.
Network Tracing
Unless you decided to use an external sniffer (as previously discussed in Configuration), you can proceed configuring the network trace functionality provided by VirtualBox as explained here.
First you need to power off your virtual machine:
$ VBoxManage controlvm "Name of VM" poweroff
Then you enable network trace:
$ VBoxManage modifyvm "Name of VM" --nictrace1 on --nictracefile1 /path/to/cuckoo/shares/<VM ID>/dump.pcap
The last argument specifies the path where the PCAP file will be stored. It has to be an absolute path and include the file name as well. In order to make Cuckoo able to find the file you’ll have to specify the shared folder you created for current virtual machine and “dump.pcap”.